Configuration and deployment of the chatbot widget
This guide will walk you through the process of configuring and deploying a chatbot widget on your website. The chatbot widget will allow your users to easily communicate with the chatbot directly from your website, without having to navigate to external platforms.
Table of contents
Deployment process overview
Deploying a chatbot widget on your website is a process that consists of several main stages:
- Creating a chatbot on the ChatbotAssistant platform - creating and configuring the chatbot that will handle communication with users.
- Widget appearance configuration - customizing the colors, position, animations, and other visual aspects of the widget.
- Generating the embed code - obtaining the HTML/JavaScript code that needs to be placed on the website.
- Embedding the code on the website - adding the generated code to the website's HTML code.
- Testing and verification - checking the widget works correctly on the website.
- A ChatbotAssistant platform account with an active subscription
- The ability to edit the HTML code of your website (e.g., access to the admin panel, FTP, or content management system)
- Basic knowledge of HTML code structure (optional)
Chatbot configuration on ChatbotAssistant platform
In the first step, you need to create and configure a new chatbot on the ChatbotAssistant platform.
Detailed instructions:
- Log in to your account on the ChatbotAssistant platform.
- Go to the Dashboard section in the navigation panel.
- Click the Create a new chatbot button.
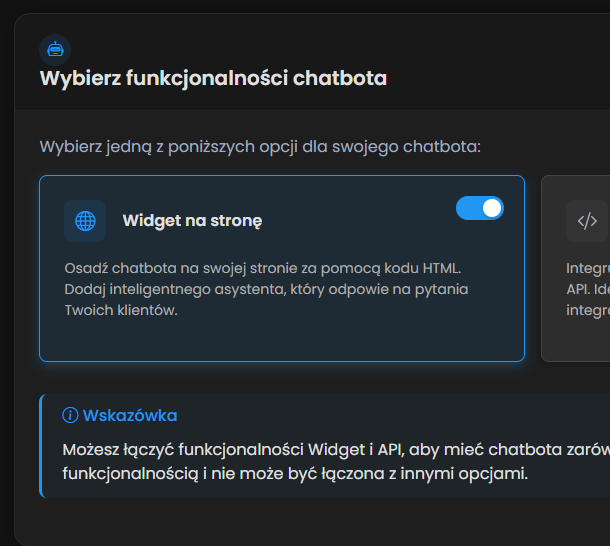
- Select the Website widget option as the platform for the chatbot.
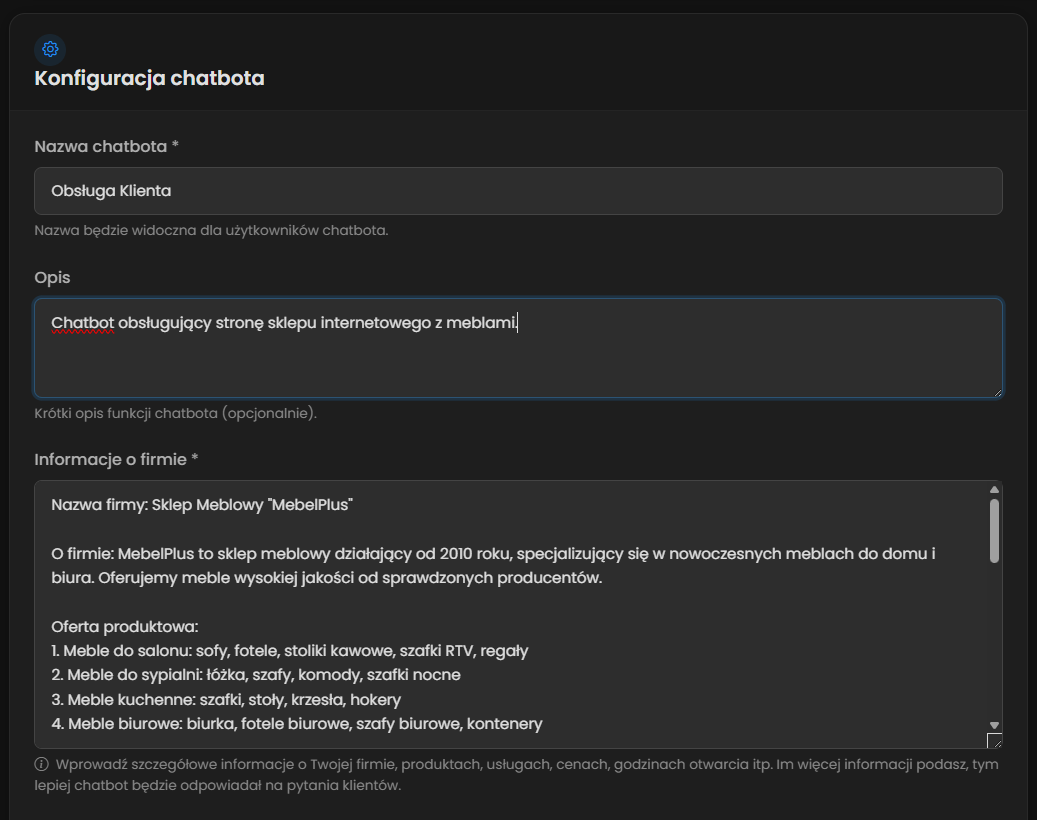
- Fill in the chatbot creation form by entering the following details:
- Chatbot name - enter the chatbot name that users will see, e.g. Customer Support
- Description (optional) - will help you find the right chatbot
- Company information - enter detailed information about your company, products, services, prices, opening hours, etc. The more information you provide, the better the chatbot will answer customer questions.
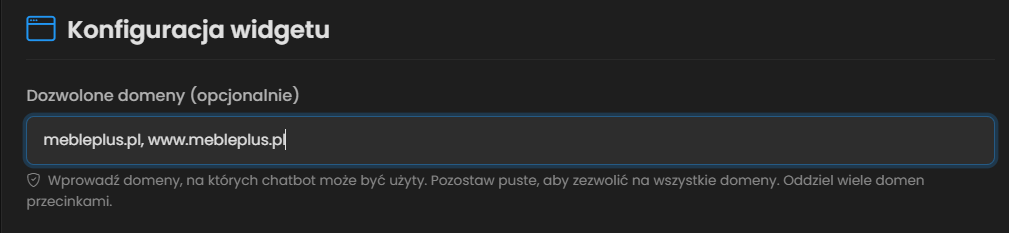
- Allowed domains - enter your website domain, e.g. example.com (without https://). If you have more than one domain or subdomains, enter all of them separated by commas. (NOT RECOMMENDED) Leave the field empty to allow all domains.
- Click the Create Chatbot button to save the configuration.
Widget appearance configuration
After creating the chatbot, you can proceed to configure the widget appearance. The ChatbotAssistant platform offers a user-friendly interface for customizing the widget appearance without any programming knowledge.
Accessing the widget editor:
- In the Dashboard panel, select the chatbot you created from the list.
- Go to the Options section and then Embed code.
- You will see the widget editor interface divided into sections:
- Embed code for the website - the generated script with configuration attributes and a code editor allowing you to make changes directly in the embed code.
- Embedding instructions - detailed installation steps and helpful tips.
- Widget appearance editor - visual customization panel with tabs:
- Appearance - color selection, position and size, icon, and corner rounding
- Animations - configuration of widget opening and closing effects and typing indicator
- Content - editing the title, welcome message, and placeholder
- Advanced - additional options and chat window size settings
- Best practices - recommendations to help optimize the chatbot's performance and appearance:
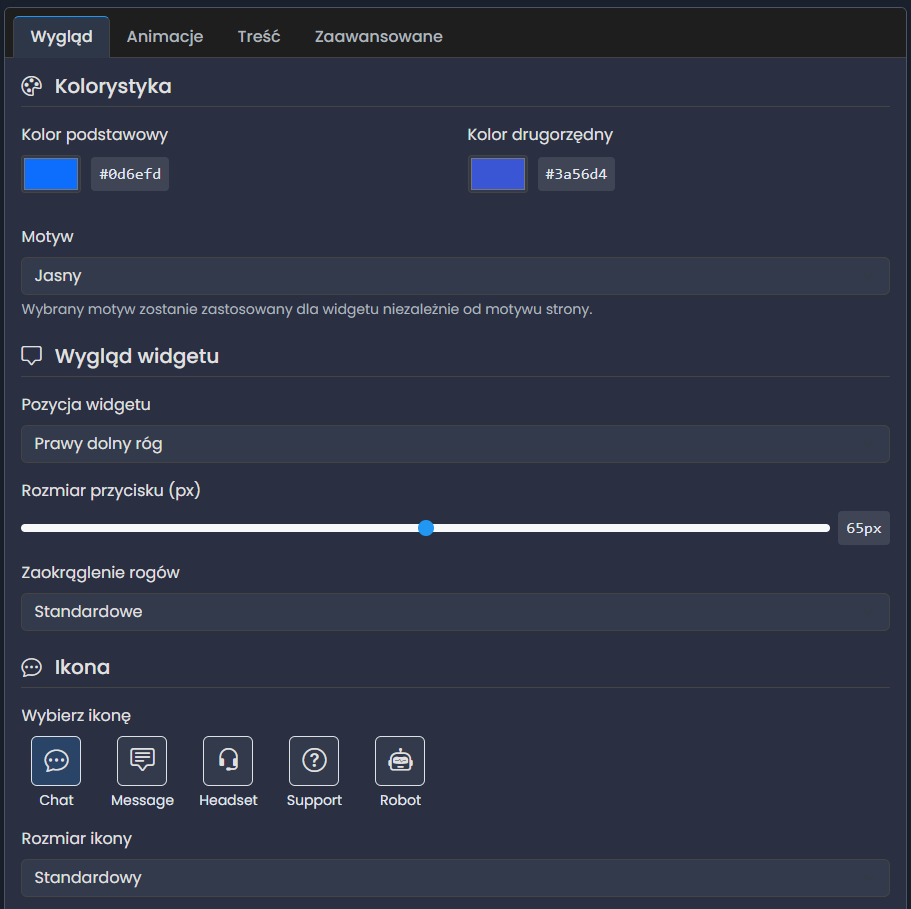

Appearance configuration ("Appearance" tab):
In the "Appearance" tab you can customize the following parameters:
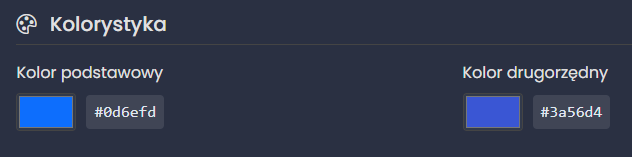
Customize the widget colors to match your website's visual identity:
- Primary color - the main widget color, used for buttons, headers, and highlights.
- Secondary color - the complementary color, used for secondary elements.
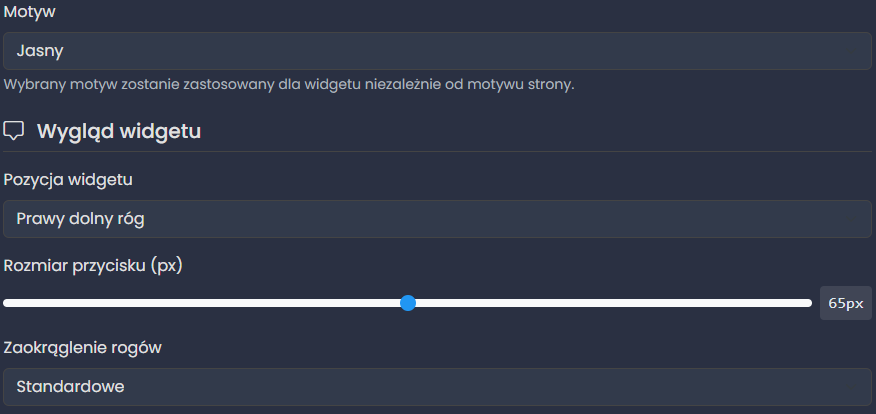
- Theme - choose between light or dark.
Configure the position and dimensions of the widget button:
- Widget position - choose one of the four screen corners where the chatbot button will appear.
- Button size - adjust the size of the chatbot launch button (from 40 to 90 pixels).
- Corner rounding - choose the corner rounding style (small, standard, large).
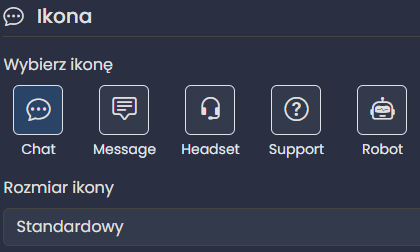
Select an icon for the chatbot button:
- Icon type - choose one of the available icons: Chat, Message, Headset, Support, or Robot.
- Icon size - specify whether the icon should be small, standard, or large relative to the button.
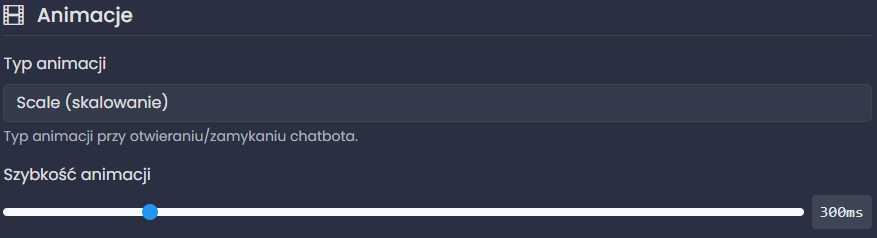
Animation configuration ("Animations" tab):
In the "Animations" tab you can configure the widget's visual effects:
- Animation type - choose how the chat window appears and disappears: Fade, Scale, Slide, Bounce, or no animation.
- Animation speed - set the animation duration (from 150 to 1000 milliseconds).
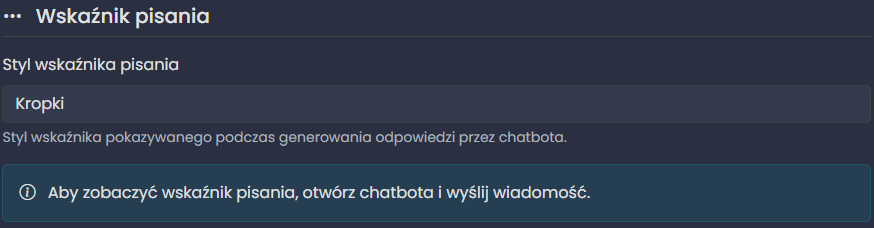
- Typing indicator style - choose the visualization of chatbot activity while generating a response: Dots, Pulsing, Bouncing, or Bars.
Content configuration ("Content" tab):
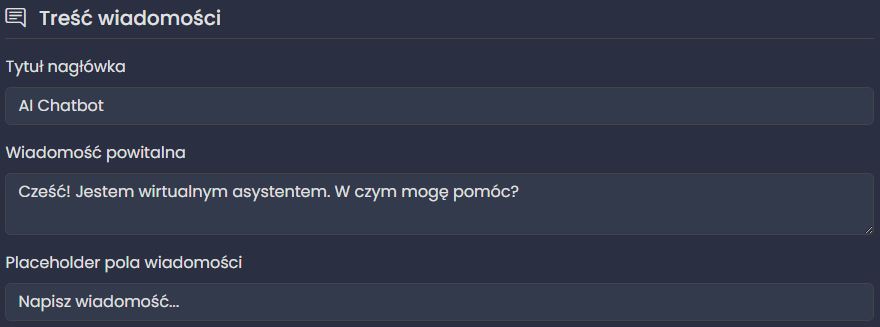
In the "Content" tab you can customize the text displayed in the widget:
- Header title - the name displayed in the chat window header.
- Welcome message - the automatic message displayed when the chatbot is launched.
- Message field placeholder - the hint text in the message input field.
Advanced settings ("Advanced" tab):
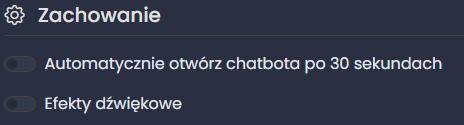
In the "Advanced" tab you will find additional configuration options:
- Automatically open the chatbot after 30 seconds - enable this option to have the chatbot automatically open after a set time.
- Sound effects - enable notification sounds for new messages.
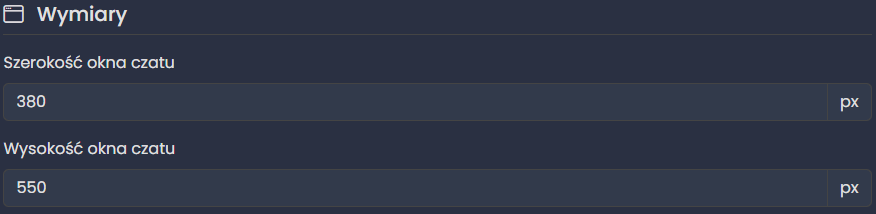
- Chat window width - the chat window width in pixels (from 280 to 500 pixels).
- Chat window height - the chat window height in pixels (from 400 to 700 pixels).
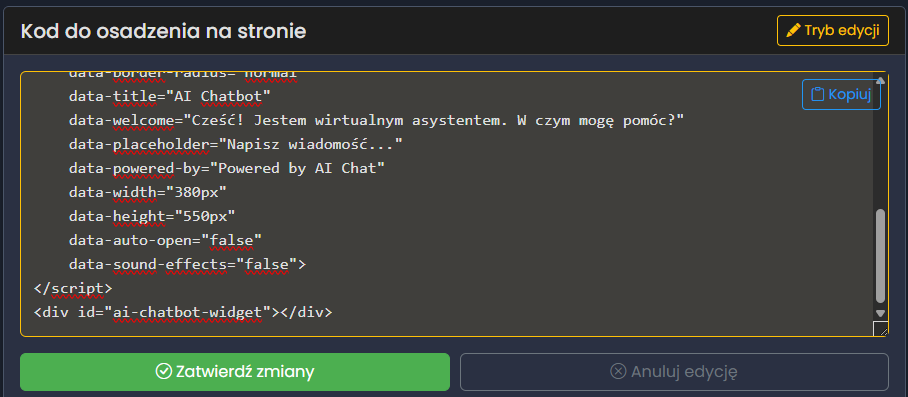
Widget code editing:
For advanced users, the platform offers the ability to directly edit the widget code:
- Click the Edit code button above the embed code field.
- Make changes directly in the code.
- Click Apply changes to save the modifications.
- If you want to cancel editing, click Cancel editing.
Embedding code on the website
After completing the widget configuration, the final step is to embed the generated code on your website.
Copying the embed code:
- In the widget editor, find the embed code field.
- Click the Copy button in the upper-right corner of the code field.
- You will see a confirmation message that the code has been copied to the clipboard.
Embedding the code on the website:
The method of embedding the code on the website depends on the platform your website runs on:
- Open your website's HTML file in a code editor.
- Find the closing
</body>tag (just before the end of the document). - Paste the copied code directly before this tag.
- Save the file and reload the page in the browser.
For WordPress-based websites, we offer a dedicated plugin that will add the chatbot code to your website.
You can find detailed installation and configuration instructions in our WordPress guide.
- Log in to the Wix panel and select your website.
- Click "Settings" in the side menu.
- Select "Site customization" > "Custom code".
- Click the "+ Add custom code" button.
- Give the code a name (e.g. "Chatbot Widget").
- Paste the copied code into the text field.
- Select the "Load in footer" option and check "Apply to all pages".
- Click "Apply", then "Save".
- Log in to the Shopify admin panel.
- Go to "Online Store" > "Themes".
- Click the "Actions" button next to the active theme and select "Edit code".
- Find the theme.liquid file or another appropriate template file.
- Paste the copied code before the
</body>tag. - Click "Save" and refresh the page.
- Log in to your Google Tag Manager account.
- Select the appropriate container.
- Click "Tags" in the navigation menu, then "New".
- Give the tag a name (e.g. "ChatbotAssistant Widget").
- In the tag configuration, select "Custom HTML Tag".
- Paste the copied code into the text field.
- In the "Triggering" section, select or create an "All Pages" trigger.
- Save the tag and publish the container changes.
Deployment verification:
- Open your website in a browser (preferably in incognito mode or a new tab).
- Check that the chatbot widget is visible in the appropriate corner of the page.
- Click the chatbot icon to make sure the chat window opens correctly.
- Send a test message to verify that communication with the chatbot works correctly.
- Check the widget's operation on different devices (computer, tablet, phone) and in different browsers.
Troubleshooting:
If the widget does not appear on the website, check:
- Whether the code was correctly pasted before the
</body>tag. - Whether your website's domain is on the allowed domains list in the chatbot configuration.
- Whether there are no errors in the browser console (F12) related to loading the widget script.
- Whether there are no conflicts with other scripts on the website (e.g., other chatbots, ad blockers).
- Whether the chatbot ID in the code is correct.
If the widget is visible but does not work correctly:
- Check that the API address in the code is correct (data-api-url attribute).
- Make sure the chatbot is active on the ChatbotAssistant platform.
- Check that there are no network connection issues.
- Verify that there are no widget-related errors in the browser console.
- Try clearing the browser cache and cookies.
If the widget appearance does not match the configuration:
- Make sure that the configuration changes were saved correctly.
- Check that the embed code on the website contains all configuration attributes.
- Verify that there are no CSS styles on the website that override the widget styles.
- Try resetting the widget settings to default values, then re-customize the appearance.
Rate Limiting
Rate limiting is a mechanism that restricts the number of messages a user can send to the chatbot within a specified time period. This protects the system from excessive load and ensures fair resource usage.
How Rate Limiting works:
- Per-user limit: Each user has their own limit (not shared with others)
- Time window: 60 seconds
- Automatic reset: The counter resets every minute
- Configurable limit: Each user can have a different limit set by the administrator
What this means for users:
When a user reaches their message limit within a minute, the chatbot will display a message informing them to wait before sending the next message. After one minute has passed since the first message in the current time window, the counter automatically resets.
Increasing rate limits:
If the standard rate limits are not sufficient for your use case (e.g., for high-traffic chatbots or specialized applications), you can request an increase.